Build web forms with just a few clicks!
Choose to store your data in Leads IN or save it directly as a new contact. Plus, receive instant email notifications whenever a form is submitted.
Continue reading for more details.
Fully customizable
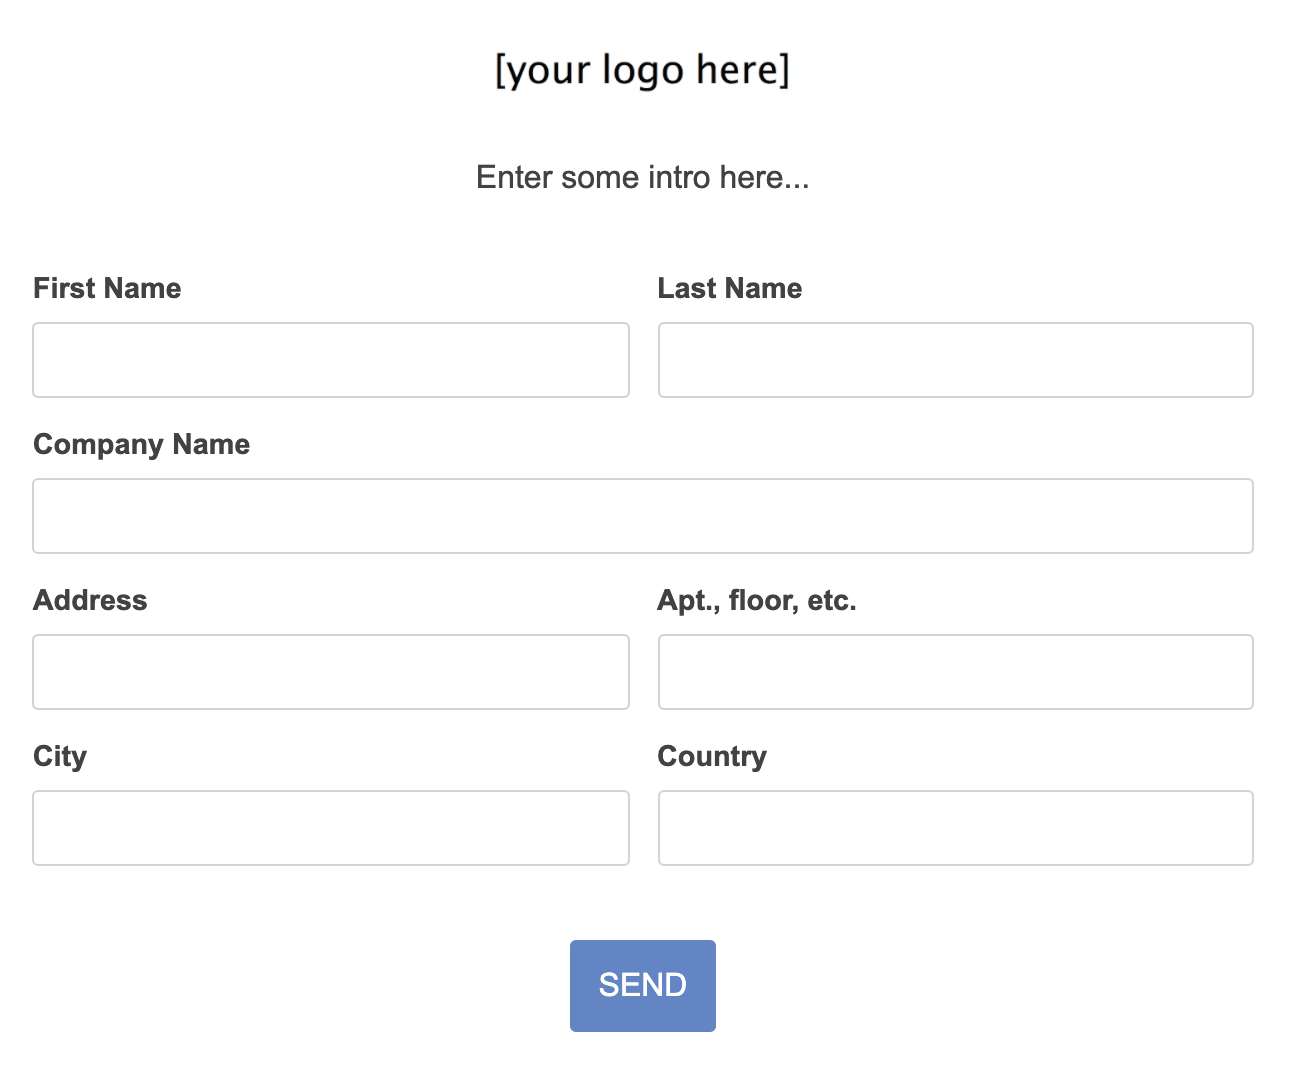
- Use it on your web site – You can copy the form (which you will have easily generated through the admin page) on your website in any position. The form can be fully customized to reflect the look of your site. The form will automatically inherit your page’s CSS styles, and if that’s not enough, your developer can modify the style further.
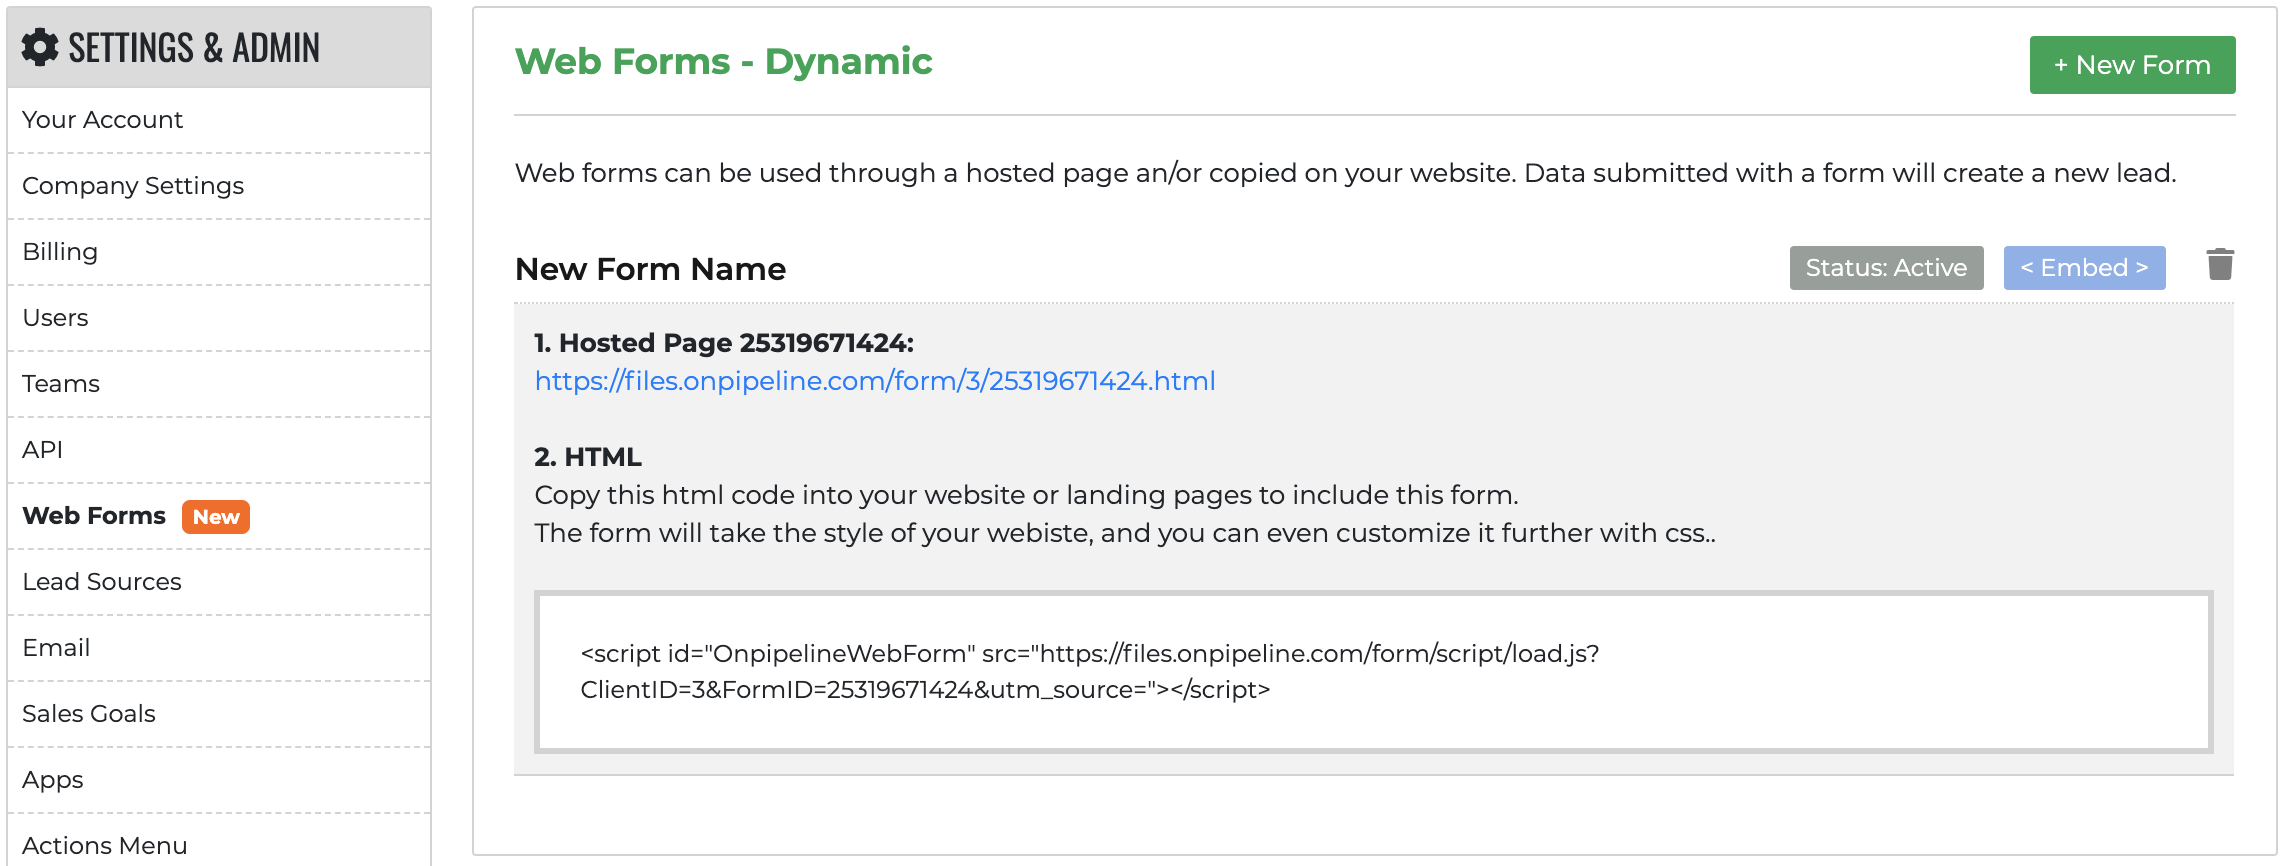
- Hosted – Alternatively, instead of copying the web form on your site, you can directly use the hosted page. There is no need to involve a web developer to use our forms!
How to create a form
In your account settings just look for the Web Forms link in the menu. Then click on the “New Form” button.
Full control over the data your prospects provide
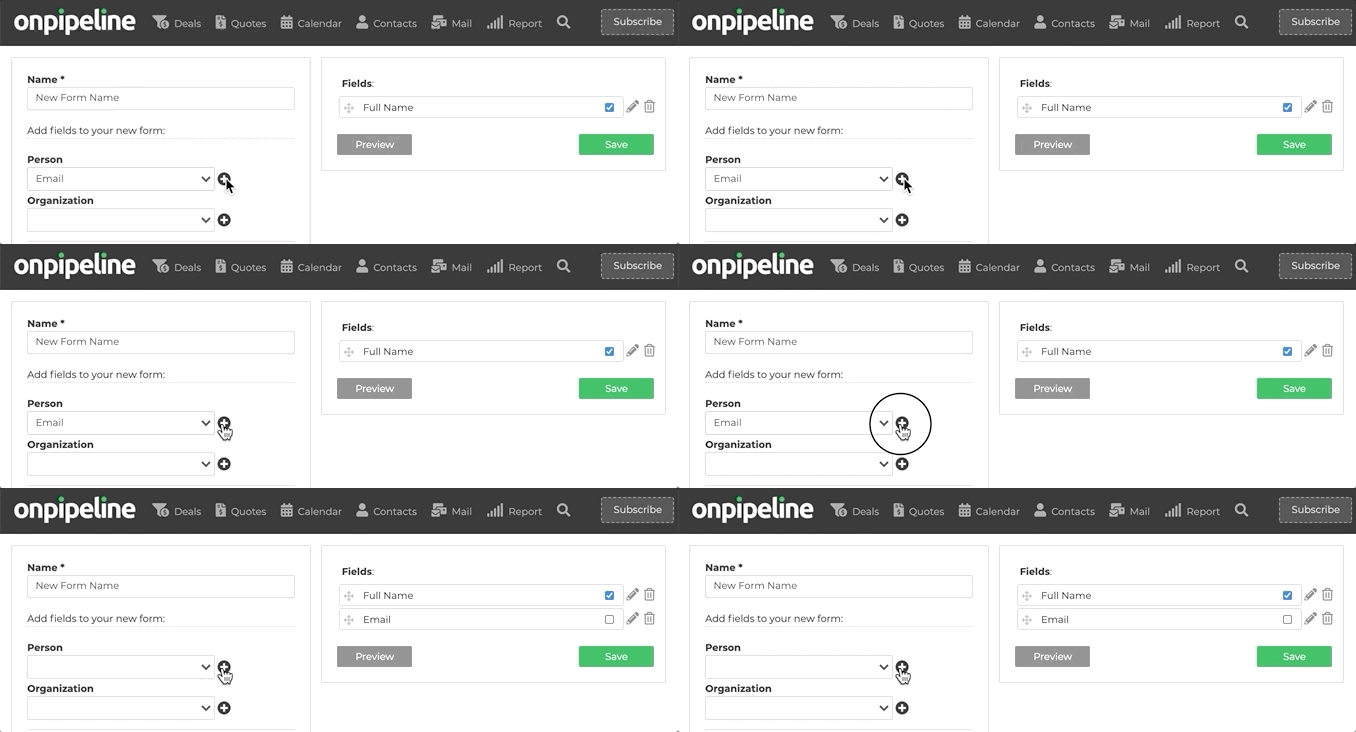
You can asks for specific information that will automatically be stored within your Leads In and Contacts Database. As we told, Custom fields will be a great resource for gathering the information you need.
- Name: The name you choose to recognize this form
- Title: Title shown above the form
- Description: Tex shown below the title of your form
- Thank-you text: Text show when the form is successfully submitted
- Language: Language used by form for internal messages
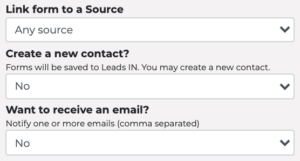
- Link form to a Source: If you have active Lead Sources then you can link the form.
Unlimited forms in the language you need.
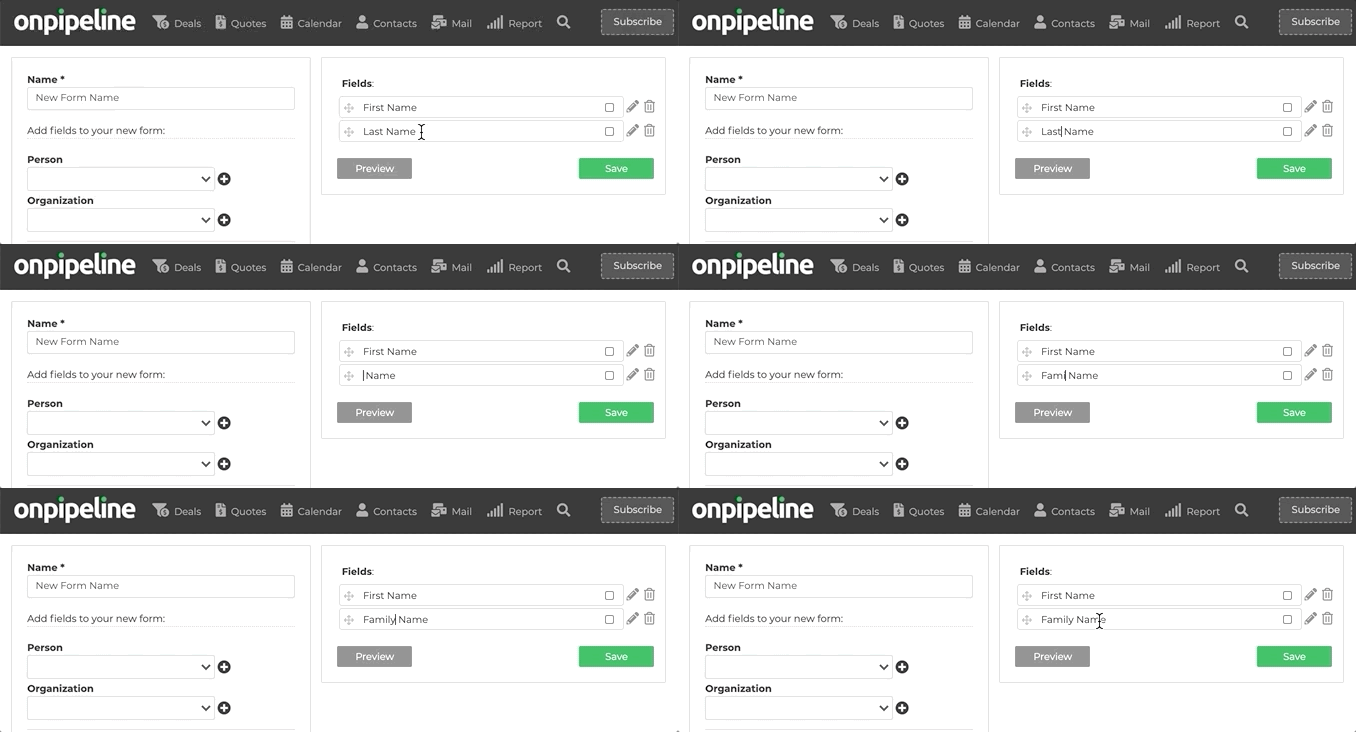
Labels are easily customizable. You can change them as you like (create forms in multiple languages).
Advanced features
- Adding a Lead Source
Once you have lead sources a field will be shown in the generation form. You can decide to link the form to a source if for example this form will be used only by a specific partner.
- Dynamically add a source with utm_source
For those who have a web developer and special needs, it is possible to pass the source field directly through the code that loads the form. It is not necessary that the source of leads is pre-registered you can enter, for example, any value coming from an advertising campaign or any other information you need within the limit of 50 alphanumeric characters
Example:
<script id="OnpipelineWebForm" src="https://files.onpipeline.com/form/script/load.js?ClientID=1111111111&FormID=11111111111&utm_source=your-source-here"></script>
- Create a new contact
By default, data is saved in Leads IN but you can decide to automatically create a contact in Persons / Organizations. Simply select ‘yes’ if you prefer this approach.
- Receiving email notification
If you wish, you can receive an email message with contact details (form data). You can enter multiple recipients by entering the email addresses separated by a comma.
Field Preferences & Dynamic Fields
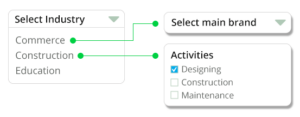
You can decide whether or not to show a form field based on the response provided by the customer. Custom fields will be a great resource for gathering the information you need from the prospect.
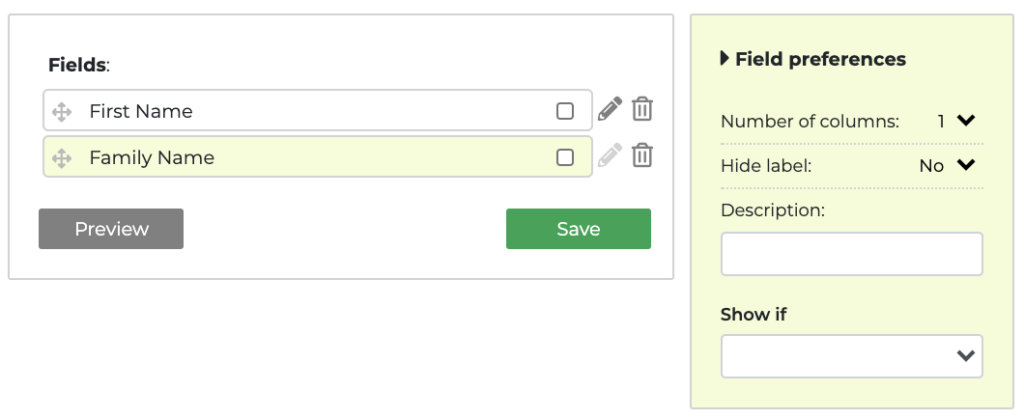
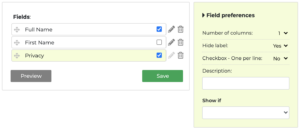
Clicking on the pencil next to the field will open a window for the preferences. For example, you can decide whether to show the field in two columns. To do this you must select “2” for two neighboring fields so that the form is pleasing to the eye.
If for whatever reason you prefer to remove the “Powered by Onpipeline” text from the footer, please know that you can do it in the hosted version, by adding a simple javascript to your html page – immediately after the <script> tag of the form inclusion:
<script type="text/javascript">
setTimeout( function() {
var element = document.getElementById("onpowered");
element.style.setProperty("display", "none", "important");
},500);
</script>
You can decide whether to hide the label and show only the description text or set whether the field should be seen (Show if) only if another field has predefined conditions.
Thank-you Message or Thank-you URL
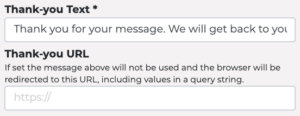
After the form has been sent, you can simply show a text message saved, but alternatively you can send the customer to a page (url) of your choice.
The form data will be passed to the thank-you URL in a query string so that you can (if you wish) customize the messages to the customer after submitting the form.
Automatic duplicate check
The system checks if the contact is already in the database and marks it as a “duplicate”. The check is made on the contact details of the person with a combination of email, telephone and name.
Protected by captcha
By default a captcha system is used to prevent spam on the form. You have already seen it on hundreds of sites: This is the automatically generated image with numbers and letters that asks users to write what they read before they can submit the form.
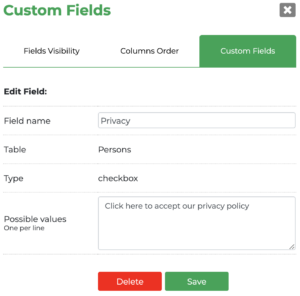
How do I add the privacy checkbox?
To obtain a privacy acceptance checkbox, follow these simple steps.
1. First create a custom field to accomplish this task
2. Then you will need to add this field at the bottom of your form and make it mandatory by ticking the required checkbox
The result will be something like this:
How to add a Message field
Similarly to the privacy field, it is possible to insert the Message entered by the prospect by creating a custom field with the textarea format.

